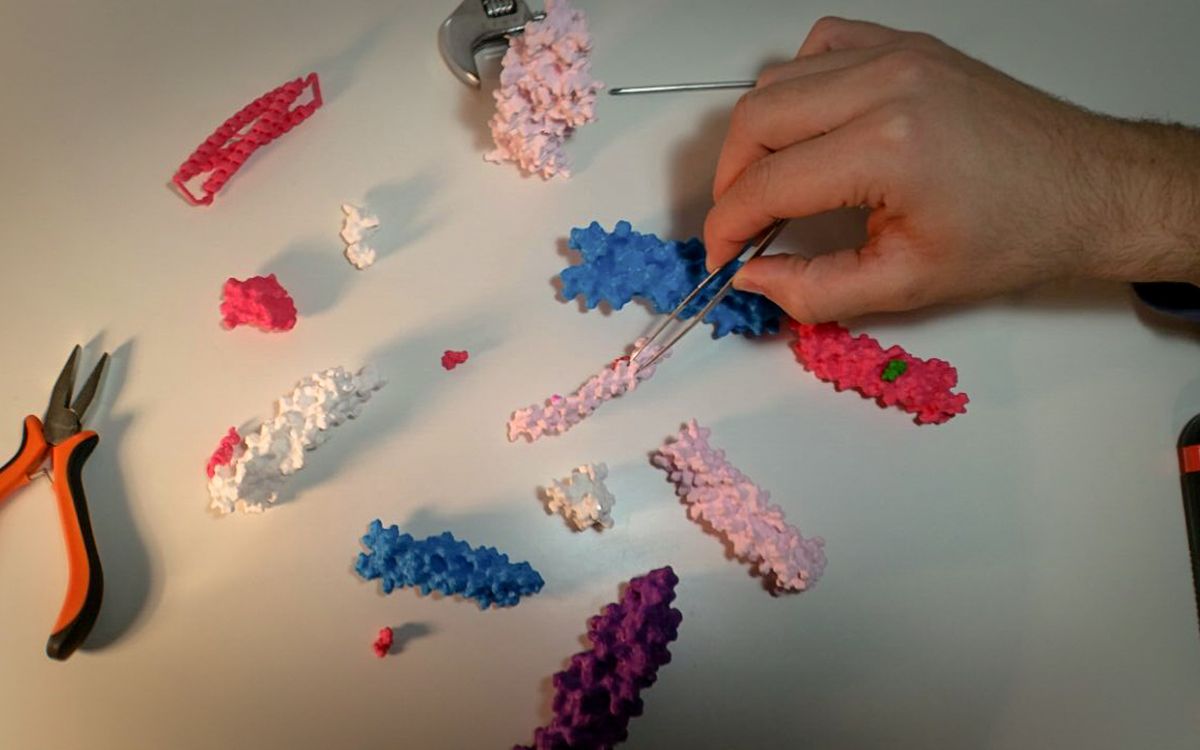
A print straight off the machine is rarely the finished object. Layer lines, support marks and seams are normal. How far you take finishing depends on the use: a bracket needs nothing, a display model may need hours. This guide follows the order we work in, for both FDM and resin.
Plan the finish before you print
Most finishing problems start in the slicer. Orientation decides where support marks and the seam end up, so put them on faces nobody will see. Supports, overhangs and orientation covers this in detail. A finer layer height means less sanding later, at the cost of print time.
If you plan to sand heavily, add an extra wall or two. Sanding removes material, and a thin 2-perimeter wall can sand through at the edges.
1. Remove supports
FDM. Let the print cool fully first: warm PLA bends and tears. Then:
- Peel large support blocks off by hand, working in from an edge.
- Use flush cutters on supports touching the part, and needle-nose pliers for pieces inside cavities.
- Clean leftover nubs with a hobby knife or deburring tool. Always cut away from your hand.
On organic shapes, tree supports usually come off cleaner than normal supports. The surface where supports touched will always be rougher than the rest.
Resin. Supports are easier to remove after washing but before final curing, while the resin is still slightly flexible. Clip them with flush cutters close to the part rather than snapping them off, which can leave pits. Wear nitrile gloves: uncured resin irritates skin.
2. Resin: wash and cure
Resin prints need washing and curing before any other finishing.
- Wash in isopropyl alcohol (IPA, typically 90 % or stronger). Two stages work best: a first bath that removes most of the resin, then a cleaner second bath. A few minutes in total is usually enough. Long soaking can soften fine details or lead to cracks later.
- Dry completely. IPA left in crevices turns into a white, chalky residue when cured. Let it air-dry, or use a gentle stream of air.
- Cure under 405 nm UV light, the same wavelength the printer uses. A few minutes in a curing station is typical, turning the part so every face gets light. Over-curing makes resin more brittle and can yellow light colours.
Hollow models need drain holes so IPA and uncured resin can get out. Our resin safety and care guide covers handling and disposing of used IPA.
3. Sanding
This is where most finishing time goes. Work up through the grits, and don't skip more than one step.
| Stage | Grit | Purpose |
|---|---|---|
| Shaping | 120 to 220 | Remove layer lines, support marks, seams |
| Smoothing | 320 to 400 | Remove scratches left by the coarse grit |
| Before primer | 400 to 600 | Final surface for paint |
| Polishing (optional) | 800 to 2000 | Gloss on resin, or under a clear coat |
Tips that save time:
- Wet sand from 400 up. Water stops the paper clogging, keeps dust down and keeps PLA cool. PLA softens at around 60 °C, and fast dry sanding smears it instead of cutting it.
- Use a backing. A sanding block or stick keeps flat faces flat. Foam pads work on curves.
- Let primer do part of the work. On FDM it's often faster to sand at 220, then fill the remaining lines with filler primer.
- Wear a dust mask. Don't breathe plastic dust, and especially not cured resin dust. Wet sanding helps here too.
TPU is hard to sand: it's flexible and tends to pill. TPU parts are usually left as printed.
4. Filler primer
Filler primer is a thick spray primer that fills fine scratches and shallow layer lines. It's the step that makes an FDM print look moulded.
- Clean the part with water and a drop of dish soap, or wipe it with IPA, and let it dry. Dust and skin oil stop primer sticking.
- Spray thin coats from about 20 to 30 cm. Several light passes beat one heavy coat, which runs and buries detail.
- Let it dry as the can directs, then sand with 320 to 400 grit.
- Repeat two or three times. Each round the remaining lines get shallower, and the grey coat shows defects you couldn't see on coloured plastic.
For deeper gaps, pits or seams between glued parts, use a hobby putty before the next primer coat. Spray outdoors or with good ventilation, and wear a respirator rated for paint vapours.
5. Painting
Once the primer is smooth, painting works like any scale model.
- Acrylic paints are water-based and easy to use, by brush or airbrush.
- Spray paint gives an even base coat on larger parts.
- Paint light colours over white or light grey primer, dark colours over grey or black.
- Use thin coats, and let each one dry before the next.
- Finish with a clear coat (matte, satin or gloss) to protect the paint from handling. Test it on a scrap piece first: some solvent-based clears react with acrylic paint underneath.
If you only need a colour, not a painted finish, printing in a coloured material is usually better. We offer 50+ materials and finishes, which can save the whole painting step.
6. Smoothing ABS with acetone vapour
Acetone dissolves the surface of ABS (and ASA), melting layer lines into a glossy finish. It does not work on PLA or PETG in any useful way.
A typical cold vapour method:
- Line the inside walls of a sealable glass or metal container with paper towels, and dampen them with acetone.
- Stand the part on a raised platform so it never touches liquid acetone.
- Close the lid and check every few minutes. Depending on temperature and the part, it takes from several minutes to around an hour.
- Take the part out when the surface turns glossy. It stays soft for a while, so don't touch the smoothed faces, and give it about a day before handling or painting.
Safety. Acetone vapour is highly flammable and heavier than air, so it collects low down. Never heat acetone on a hotplate, near a flame or near anything that can spark, including the printer. Work outdoors or with strong ventilation, wear nitrile gloves and eye protection, and keep the container away from children and pets.
Vapour smoothing also rounds sharp edges and fine text. It suits organic shapes, not parts that must fit precisely (see tolerances for functional parts).
7. Gluing multi-part prints
Large models are often printed in pieces. The right glue depends on the material.
| Material | Good choice | Notes |
|---|---|---|
| PLA | Cyanoacrylate (super glue), 2-part epoxy | CA for quick small joints, epoxy for large or load-bearing ones |
| PETG | 2-part epoxy | CA often holds weakly on PETG |
| ABS | ABS slurry (ABS dissolved in acetone), CA, epoxy | Slurry welds the parts into one piece |
| TPU | Flexible adhesive for rubber and plastic | Rigid glues crack when the part flexes |
| Resin | CA, epoxy, or a dab of resin cured with UV | Resin as glue matches the material |
Joints hold far better when you:
- Scuff both faces lightly with 220 grit and clean them.
- Design in alignment pins or keys so parts locate themselves while the glue sets.
- Clamp or tape the parts while the glue cures.
Glue first, then fill the seam and prime. The other way round leaves a visible line.
Planning to finish it yourself?
If we print the part and you finish it, tell us how you plan to finish it when you send your files. We can orient it so support marks land on faces you'll sand or hide anyway, and pick a layer height that suits the finish. Send files to lab@lightning-studio.org, or see the Lab page.
Cover photo: 3DPrint SciencePhotoCompetition by EnriqueBumbury, CC BY 4.0, via Wikimedia Commons (cropped).
Related posts
3D Printing in Education: A Practical Guide for Teachers and Schools
What to print for teaching, STEM projects students can design themselves, classroom safety, budgeting and a simple lesson flow from sketch to printed part.
Tool Changers vs Filament Swappers: Choosing a Multicolor 3D Printer
Creality K3, Sovol M1D and Bambu's upcoming H3C bring tool changing to mid-range prices. How the five multicolor approaches compare on waste, time and cost.
3D Printing Cosplay Props: Splitting, Finishing and Wearability
How to split big props to fit the bed, key and join the pieces, pick PLA, PETG or resin, keep shells light, then fill, paint and pad them for wearing.